Cheesy Garlic Butter Corn on the Cob: A Flavorful Summer Staple 🌽🧄🧀
1. Introduction to Cheesy Garlic Butter Corn
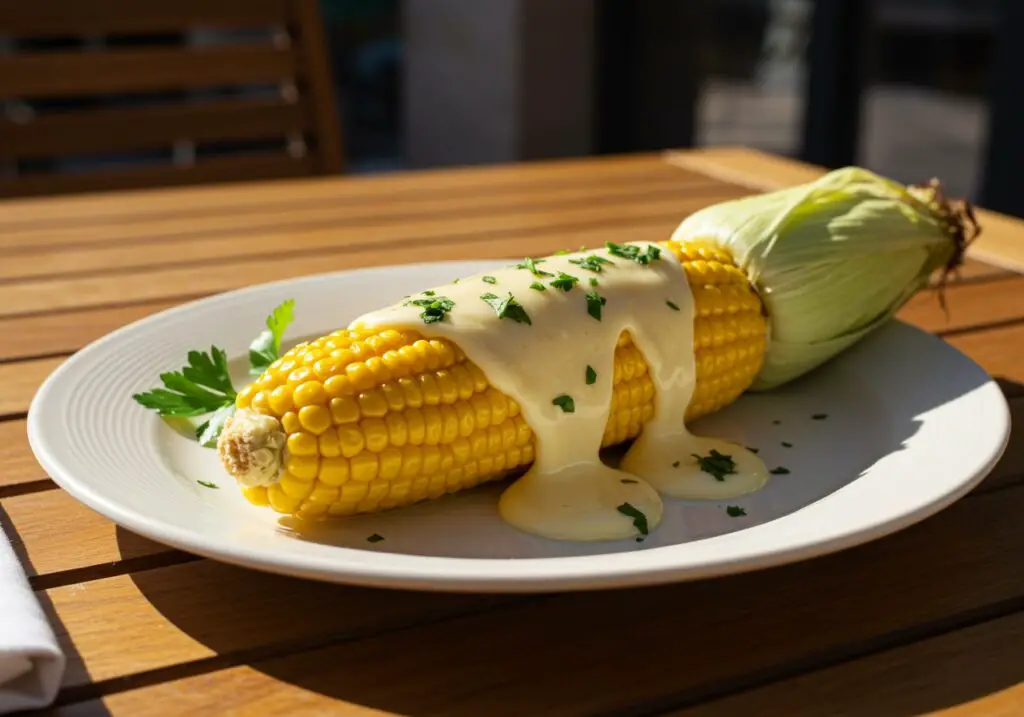
If you’re looking to elevate your summer BBQ or outdoor dining experience, look no further than this delicious Cheesy Garlic Butter Corn on the Cob. This delightful recipe combines the sweet juiciness of fresh corn with the rich flavors of garlic and cheese, creating an irresistible side dish that will impress your family and friends. Looking for more easy recipes? Check out our recipe category! Whether you’re grilling at home or having a picnic in the park, this Cheesy Garlic Butter Corn on the Cob is sure to steal the show! This recipe transforms simple corn on the cob into a gourmet delight with cheesy garlic butter. Let’s dive into the recipe and discover how to make this mouthwatering dish.
2. Ingredients for Cheesy Garlic Butter Corn on the Cob
- 4 ears of fresh corn on the cob
- 1/2 cup unsalted butter, melted
- 4 cloves garlic, minced
- 1/2 cup grated Parmesan cheese
- 1/4 cup chopped fresh parsley
- Salt and pepper to taste
- Optional: Red pepper flakes for extra heat
Make sure your ingredients are fresh for the best tasting Cheesy Garlic Butter Corn on the Cob. Fresh corn makes a huge difference!
3. Instructions: Making Your Cheesy Garlic Butter Corn
Step 1: Boil the Corn for Cheesy Garlic Butter Goodness
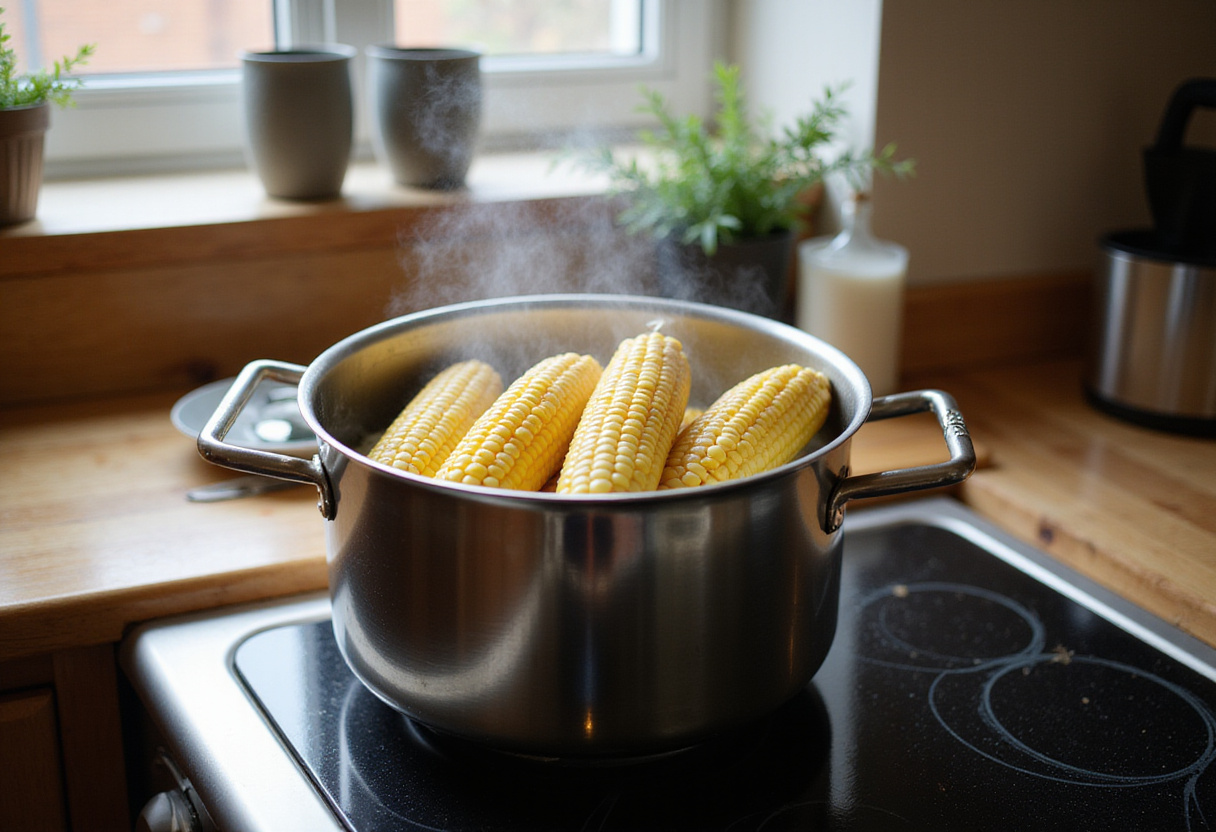
Begin by boiling the corn. Fill a large pot with water and bring it to a boil. Add the corn cobs and cook for about 5-7 minutes until they are tender but still crisp. This step is crucial for achieving the perfect texture for your Cheesy Garlic Butter Corn. Once done, remove them from the pot and let them cool slightly.
Step 2: Prepare Garlic Butter – The Heart of Cheesy Garlic Butter Corn
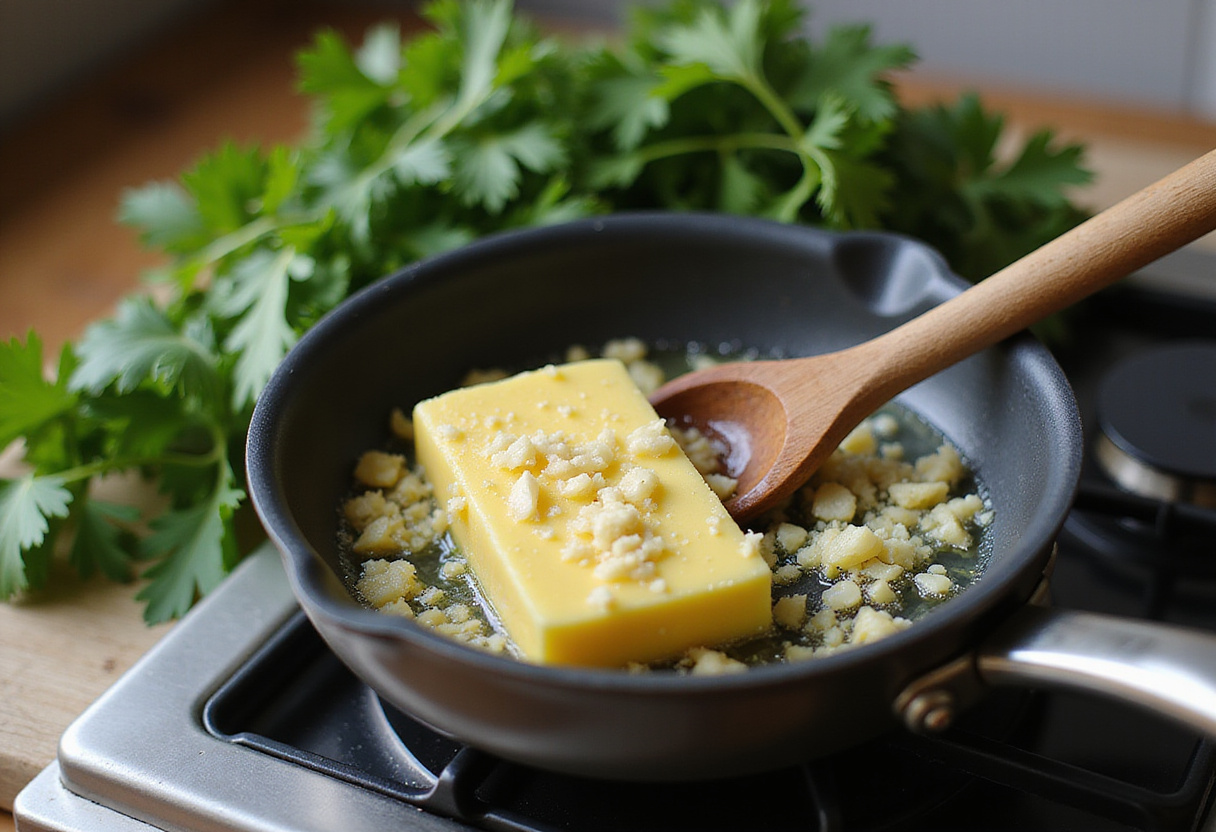
While the corn is boiling, it’s time to prepare the garlic butter. In a small bowl, combine the melted butter and minced garlic. Mix well until thoroughly combined. This fragrant garlic butter will be the key to enhancing the flavor of the corn! For an extra kick, consider using roasted garlic. It adds a depth of flavor that takes this Cheesy Garlic Butter Corn to the next level. You can also try our easy lipton onion soup potatoes recipe for another tasty side!
Step 3: Mix Cheese Mixture for Ultimate Cheesy Garlic Butter Corn

Next, prepare the cheese mixture. In a medium bowl, combine the grated Parmesan cheese with chopped parsley, salt, and pepper. Mix until the ingredients are well incorporated. This cheesy mixture will create a lovely coating that enhances the corn’s natural sweetness, making your Cheesy Garlic Butter Corn irresistible. Feel free to experiment with different types of cheeses for a unique flavor profile!
Step 4: Combine and Serve Your Cheesy Garlic Butter Corn Creation
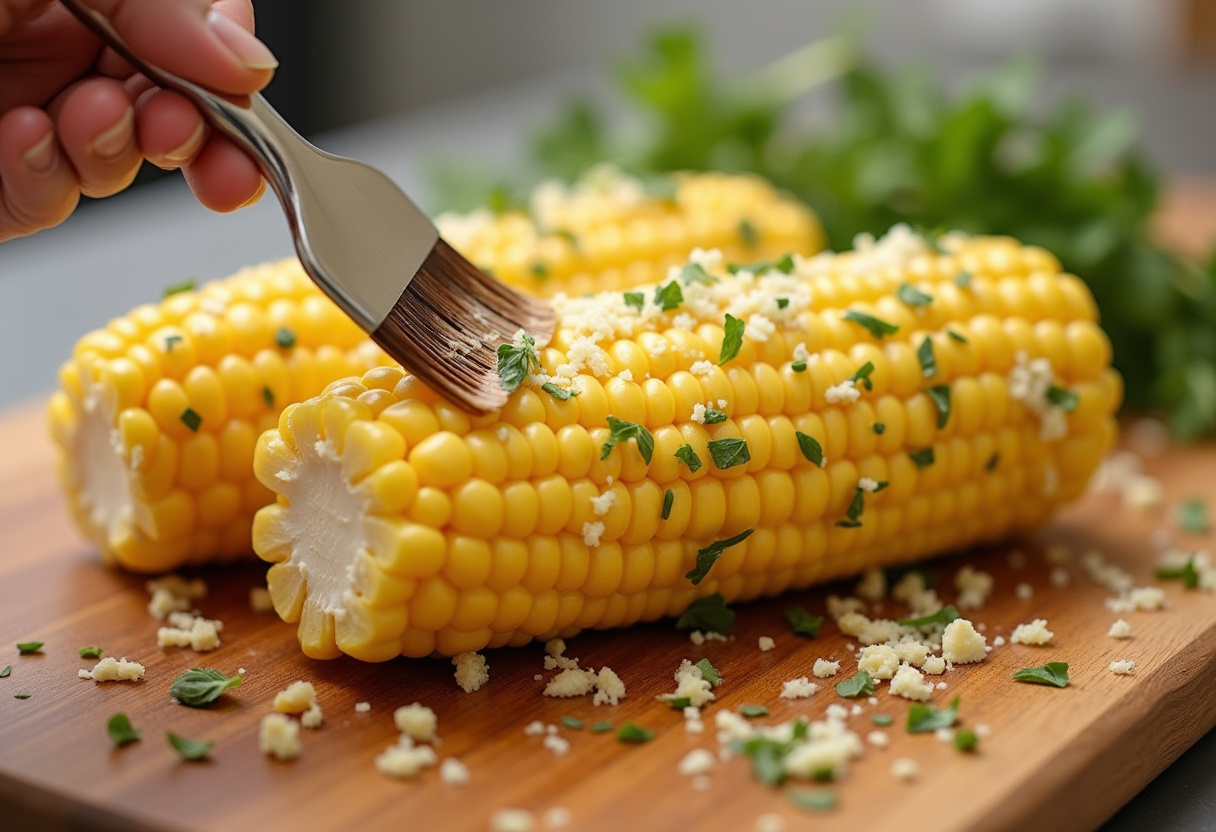
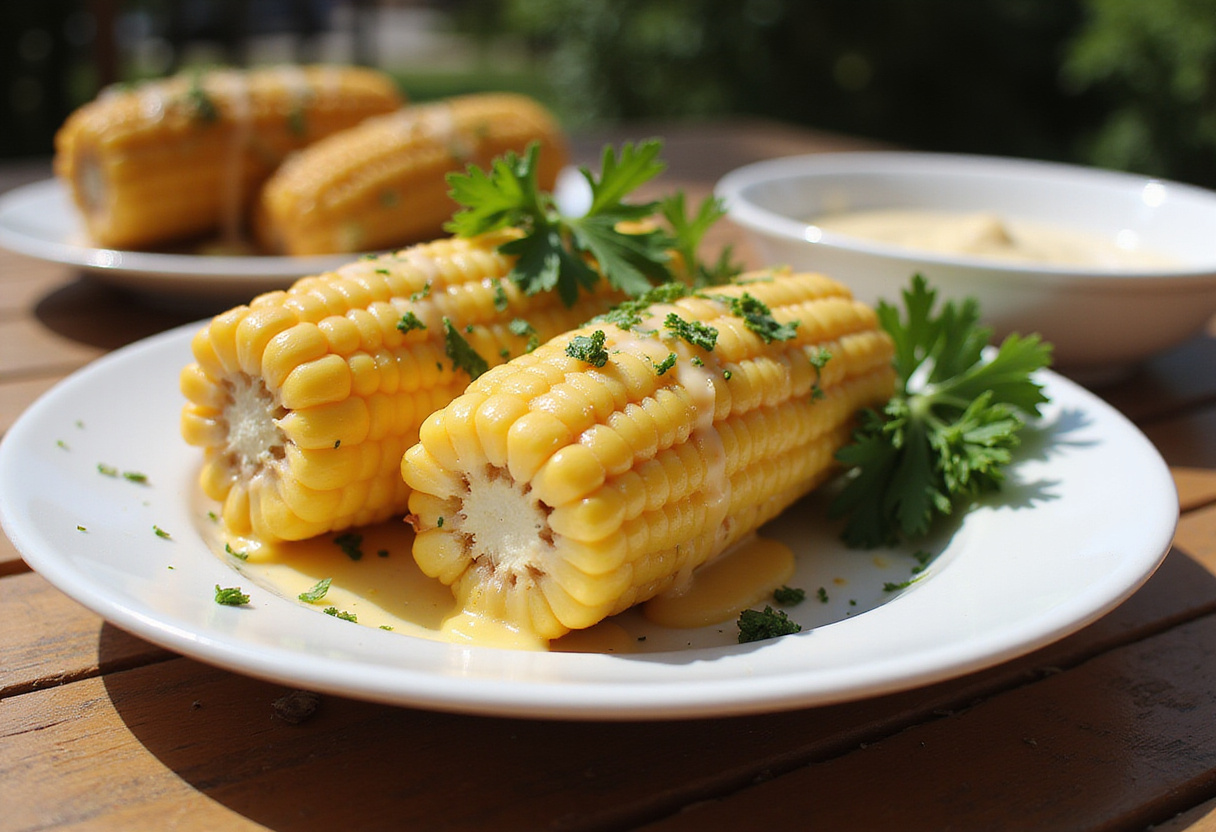
Now it’s time to bring everything together. Brush each corn cob generously with the garlic butter, making sure to coat them evenly. Then, sprinkle the cheesy mixture over the corn, ensuring each cob is well covered. For added flavor, you can also drizzle a bit more garlic butter on top. Serve immediately for the best taste! This Cheesy Garlic Butter Corn is best enjoyed fresh off the grill or pot. For another delicious recipe, check out our homemade flaky croissants!
4. Storage Tips for Leftover Cheesy Garlic Butter Corn
If you have leftovers of the Cheesy Garlic Butter Corn on the Cob, you can store them in an airtight container in the refrigerator for up to 3 days. To reheat, simply warm them in the microwave or on the grill for a few minutes until heated through. Enjoy the leftovers as a quick side dish or snack! To prevent the corn from drying out, consider wrapping each cob individually in plastic wrap before storing.
5. Serving Suggestions for Cheesy Garlic Butter Corn
This Cheesy Garlic Butter Corn on the Cob pairs well with grilled meats, salads, and any classic barbecue sides. Consider serving it alongside burgers, grilled chicken, or a fresh summer salad for a complete meal. You can also serve it at picnics or backyard gatherings as a crowd favorite! For a perfect summer meal, serve it with some refreshing lemonade and a light dessert.
6. FAQs About Cheesy Garlic Butter Corn
Q: Can I use frozen corn for this recipe?
A: While fresh corn is recommended for the best flavor in this Cheesy Garlic Butter Corn recipe, you can use frozen corn. Just thaw it completely and follow the cooking instructions accordingly.
Q: Can I make this recipe vegan?
A: Yes! You can substitute the butter with vegan butter and use nutritional yeast instead of Parmesan cheese for a delicious vegan-friendly version of Cheesy Garlic Butter Corn.
Q: How can I add more flavor to the garlic butter?
A: You can experiment by adding herbs like thyme or oregano, or even a splash of lemon juice for a zesty kick to the garlic butter! Get creative and personalize your Cheesy Garlic Butter Corn.
Q: Is this recipe suitable for gluten-free diets?
A: Absolutely! All the ingredients used in Cheesy Garlic Butter Corn on the Cob are naturally gluten-free, making it perfect for gluten-sensitive diets.
Q: Can I grill the corn instead of boiling?
A: Yes, grilling adds a smoky flavor that complements the cheesy garlic butter perfectly. Just make sure to keep an eye on it to prevent burning. You might also like to check out this Cheesy Garlic Butter Corn on the Cob recipe on Facebook for more inspiration!
7. Nutritional Information for Cheesy Garlic Butter Corn
This recipe makes approximately 4 servings. Here’s a rough estimate of the nutritional value per serving:
- Calories: 220
- Protein: 6g
- Fat: 15g
- Carbohydrates: 18g
- Fiber: 2g
Note that this is an estimate and can vary based on specific ingredients used.
8. Tips for Success: Mastering Cheesy Garlic Butter Corn
For a perfectly cooked corn on the cob, make sure to choose ears that are plump and have bright green husks. Using fresh garlic and quality butter will significantly enhance the flavor of your dish. Don’t be afraid to adjust seasonings and toppings based on your personal preferences. Experiment with different cheeses or herbs to create your signature Cheesy Garlic Butter Corn recipe. Always taste as you go and adjust the seasoning accordingly!
9. Conclusion: Enjoy Your Cheesy Garlic Butter Corn!
In conclusion, Cheesy Garlic Butter Corn on the Cob is a fantastic addition to any meal, especially during the summer months. It’s easy to make, takes minimal preparation time, and delivers a punch of flavor that’s hard to resist. Try it out at your next gathering and watch your guests come back for seconds. Happy cooking! This Cheesy Garlic Butter Corn will surely be a crowd-pleaser!
Print
Cheesy Garlic Butter Corn on the Cob
- Total Time: 17 minutes
- Yield: 4 servings
- Diet: Vegetarian
Description
Cheesy Garlic Butter Corn on the Cob is a flavorful summer staple that combines the sweet juiciness of fresh corn with rich garlic and cheese flavors, making it an irresistible side dish for BBQs and picnics.
Ingredients
- 4 ears of fresh corn on the cob
- 1/2 cup unsalted butter, melted
- 4 cloves garlic, minced
- 1/2 cup grated Parmesan cheese
- 1/4 cup chopped fresh parsley
- Salt and pepper to taste
- Optional: Red pepper flakes for extra heat
Instructions
- Boil the corn in a large pot of water for 5-7 minutes until tender but crisp. Remove and cool slightly.
- In a small bowl, mix melted butter and minced garlic to create garlic butter.
- Combine grated Parmesan cheese, chopped parsley, salt, and pepper in a medium bowl to create the cheese mixture.
- Brush each corn cob generously with garlic butter, then sprinkle the cheesy mixture over the corn. Drizzle additional garlic butter on top if desired and serve immediately.
Notes
- Store leftovers in an airtight container in the fridge for up to 3 days.
- Reheat in the microwave or on a grill until warm.
- Pairs well with grilled meats and salads for a complete meal.
- This recipe can be made vegan by using plant-based butter and nutritional yeast.
- Substituting herbs or lemon juice can enhance the garlic butter flavor.
- Prep Time: 10 minutes
- Cook Time: 7 minutes
- Category: Side Dish
- Method: Boiling and Grilling
- Cuisine: American