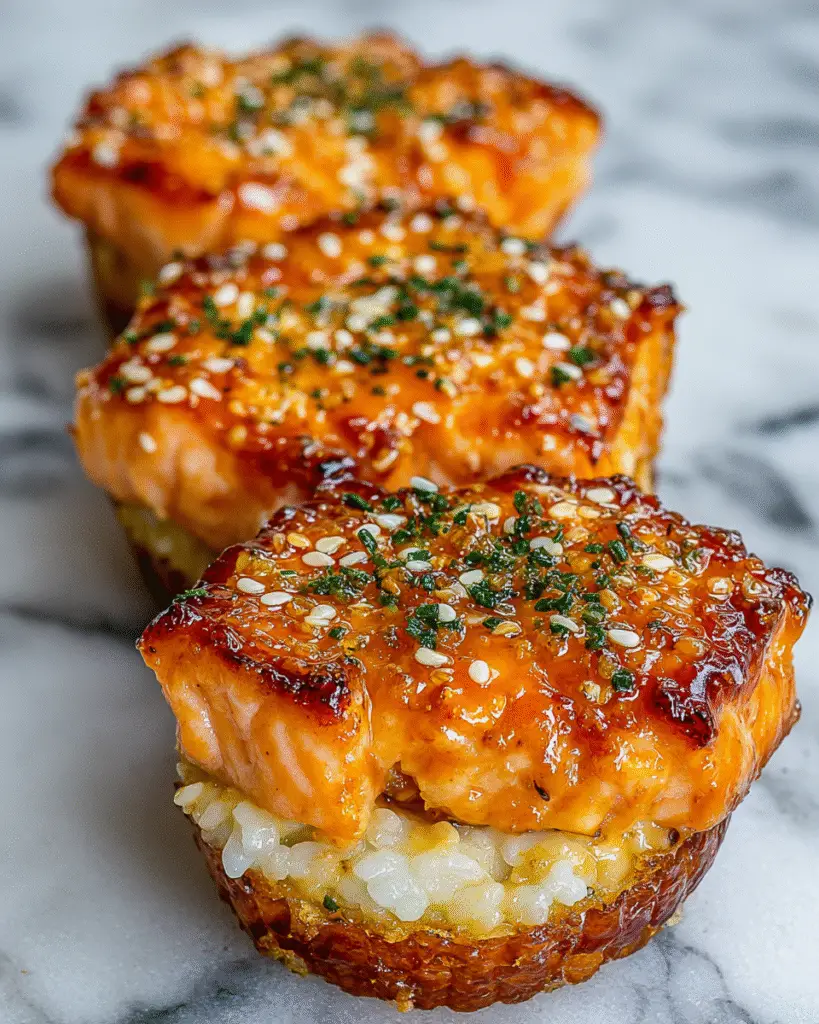
Baked Salmon Sushi Cups: An Irresistible Fusion of Flavors and Textures 🍣🍥🔥
1. Introduction to Delicious Baked Salmon Sushi Cups
2. Ingredients for Your Baked Salmon Sushi Cups
To create these mouthwatering **salmon sushi cups**, you’ll need the following fresh ingredients:- 2 salmon fillets, skinless and boneless – essential for the rich, savory flavor of your **baked salmon sushi**
- 1 cup sushi rice – the foundation of any good sushi creation
- 1 1/2 cups water – for perfectly cooked and fluffy sushi rice
- 2 tablespoons rice vinegar – adds that classic tang to your sushi rice
- 1 tablespoon sugar – balances the acidity of the rice vinegar
- 1/2 teaspoon salt – enhances the overall flavor profile
- 4 sheets nori (seaweed) – provides the structure and a subtle ocean flavor for the cups
- 1 avocado, sliced – offers creamy texture and healthy fats
- 1 cucumber, julienned – adds a refreshing crunch to complement the **baked salmon**
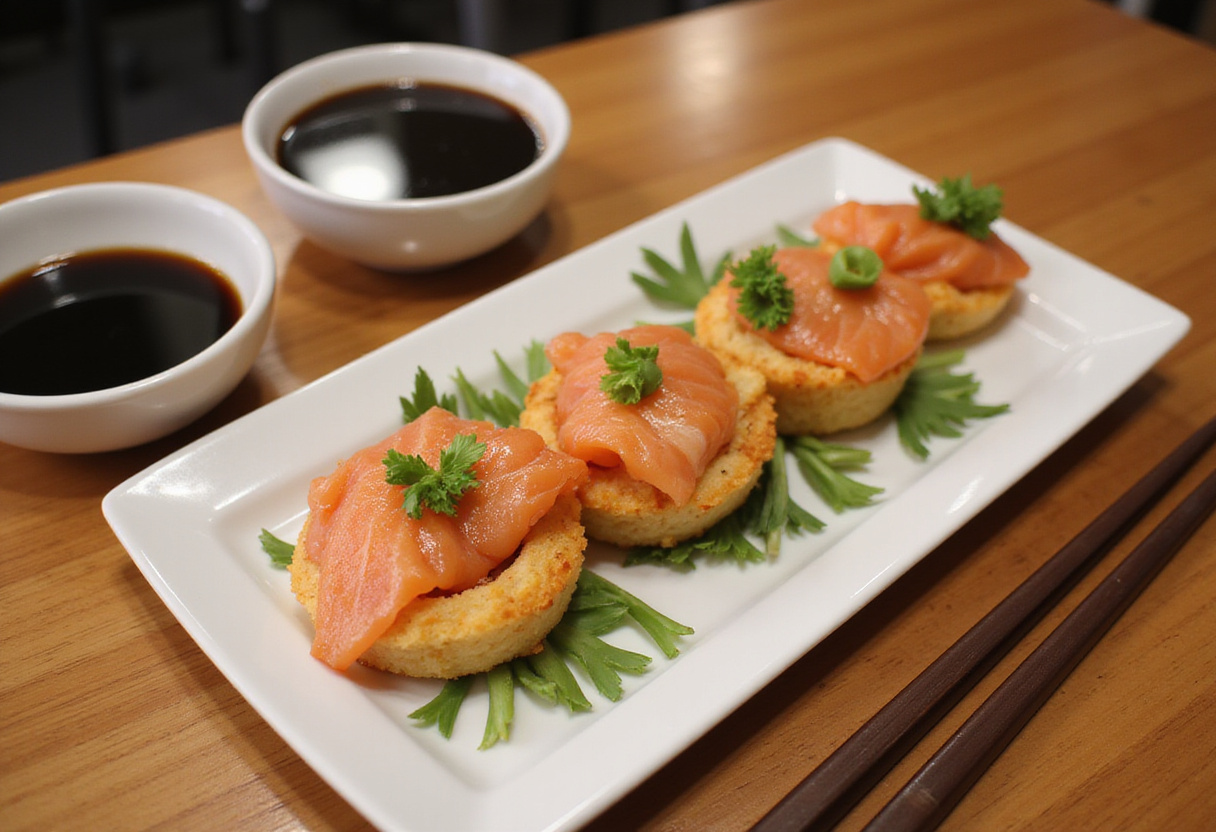
- Soy sauce and wasabi, for serving – classic condiments to elevate the sushi experience
3. Step-by-Step Instructions to Make Baked Salmon Sushi Cups
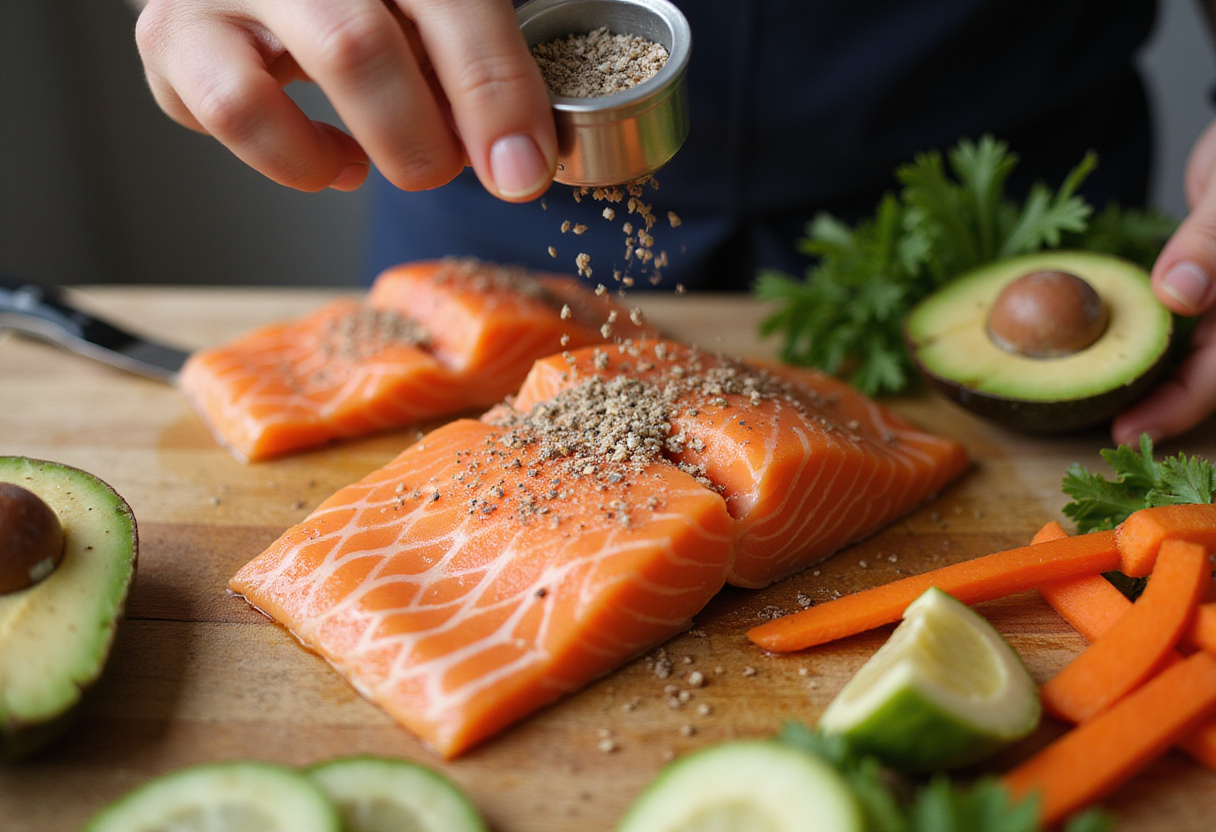
Follow these detailed steps to create perfect **baked sushi cups** every time.Step 1: Prepare the Salmon for Your Sushi Cups
Step 2: Cook the Sushi Rice for Perfect Sushi Cups

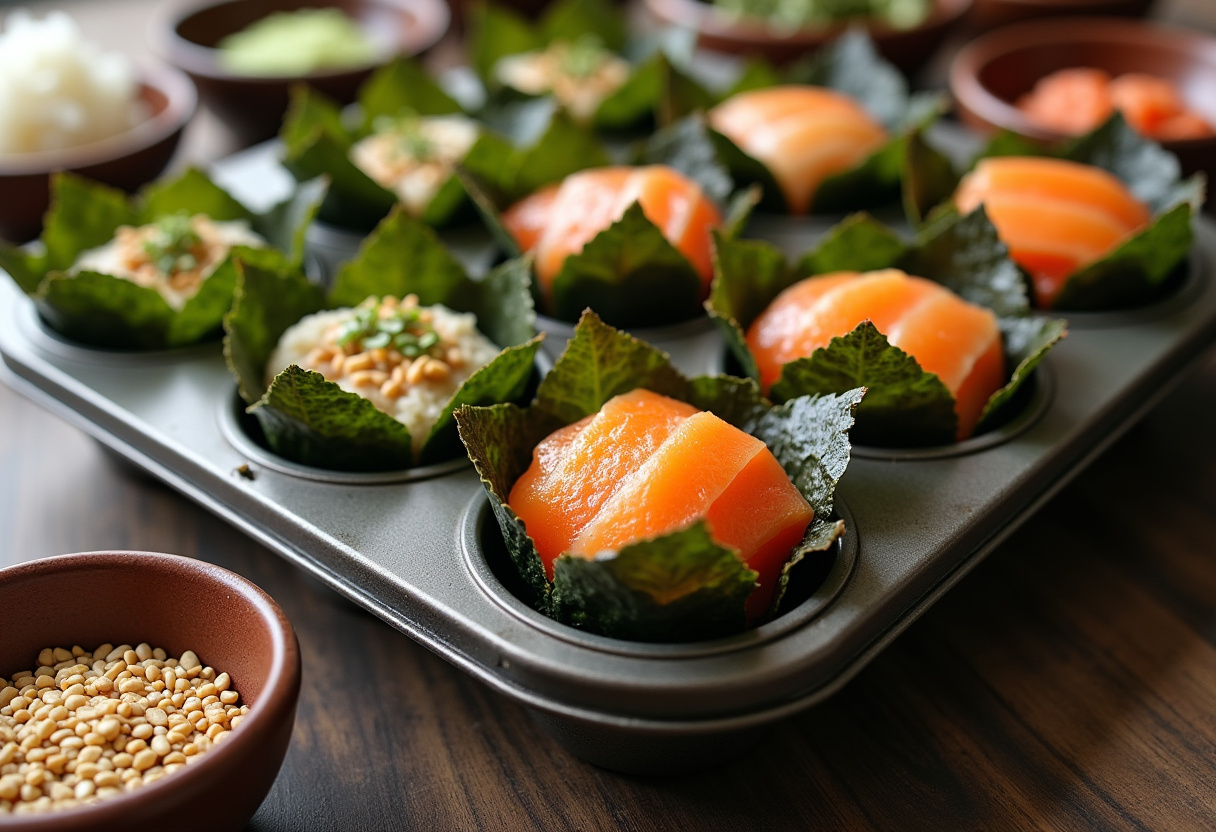
Step 3: Assemble the Sushi Cups with Baked Salmon
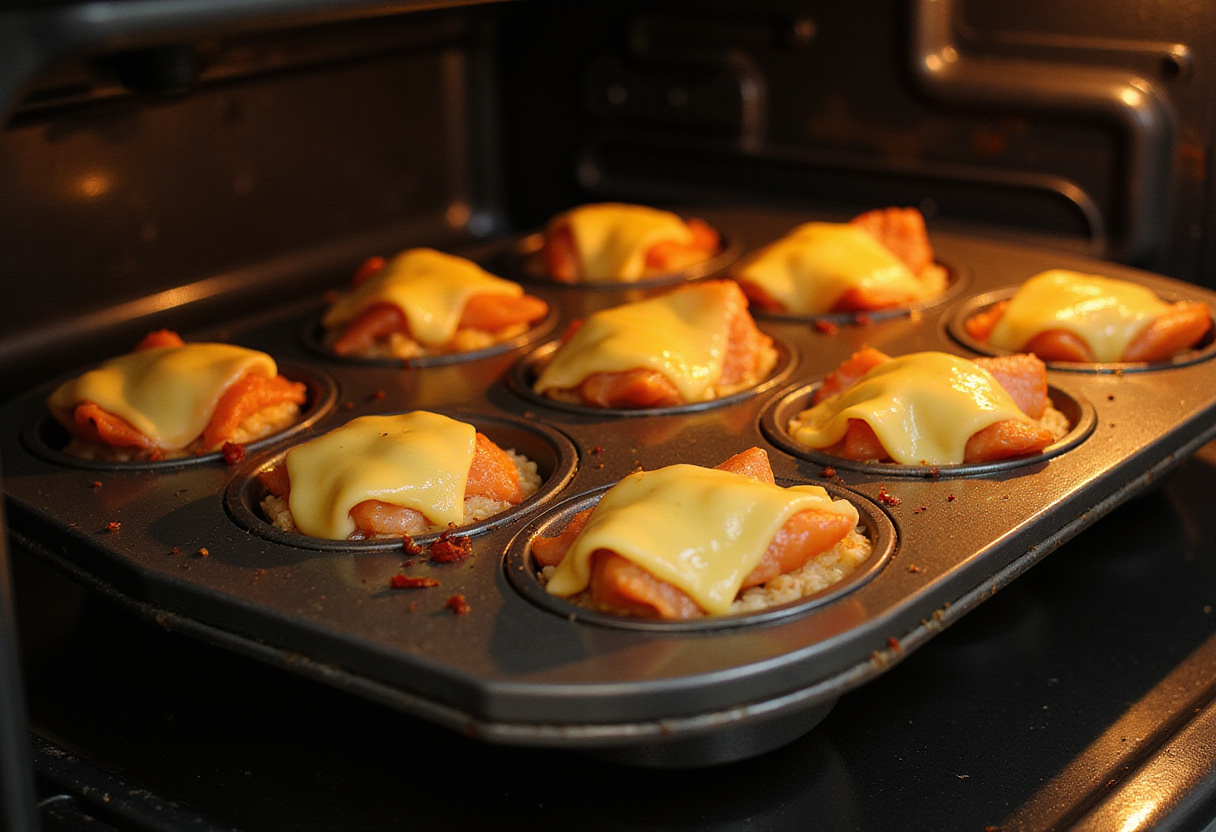
Step 4: Bake Your Sushi Cups to Perfection
4. Storage Tips for Keeping Your Salmon Sushi Cups Fresh
For any leftovers, store the **Baked Salmon Sushi Cups** in an airtight container in the refrigerator. They’re best consumed within 2 days for optimal taste and texture. Reheat in a toaster oven for a few minutes to restore some crispiness. Ensure the salmon is thoroughly reheated before consuming. ## 5. Serving Suggestions for Your Delicious Baked Salmon Sushi Cups These delicious **Baked Salmon Sushi Cups** can be served as an appetizer or a main dish. Pair them with soy sauce and wasabi on the side for dipping. For an extra layer of flavor, consider adding a spicy mayo or a drizzle of eel sauce. They also make an excellent addition to a sushi platter alongside other sushi favorites! Consider serving them with a side of edamame or a fresh seaweed salad. If you are looking for another great dinner recipe, check out this Dinner Recipes section. Or try this Chicken and Broccoli Pasta.6. FAQs About Making Baked Salmon Sushi Cups
Answering your burning questions about these tasty **salmon sushi cups**. Q1: Can I use different proteins instead of salmon for these sushi cups? A: Absolutely! You can use shrimp, crab, or even tofu for a vegetarian option. Adjust baking times accordingly. Q2: Is there a gluten-free option for sushi rice and these baked sushi cups? A: Yes, look for gluten-free sushi rice brands and make sure your soy sauce is gluten-free if needed. Tamari is a great gluten-free alternative to soy sauce. Q3: Can I make these baked salmon sushi cups ahead of time? A: Yes, you can prepare the components in advance and assemble them right before baking for the best results. Store the cooked rice and seasoned salmon separately in the refrigerator. Q4: Where did this baked salmon sushi cups recipe originate? A: This recipe is inspired by the viral TikTok trend. You can find similar recipes at Kale Junkie.7. Nutrition Information of Baked Salmon Sushi Cups
**Baked Salmon Sushi Cups** are not only delicious but also nutritious. Each cup provides a good source of protein from salmon, healthy fats from avocado, and carbohydrates from sushi rice. They are also packed with essential vitamins and minerals. Looking for a delightful dessert recipe to follow up with? Why not try How to Make Delicious Cruffins?8. Tips for Perfect Baked Salmon Sushi Cups
– Make sure to properly season your **salmon** for the best flavor – a little goes a long way! – When preparing sushi rice, be gentle when mixing to maintain the rice’s texture. Avoid mashing the rice. – Experiment with different vegetables or toppings to suit your taste; consider adding mango, bell peppers, or a sprinkle of sesame seeds. Looking for another quick meal? Here is a mac and cheese recipe. Or check out this Philly Cheesesteak Tortellini Pasta.9. Conclusion: Enjoy Your Homemade Baked Salmon Sushi Cups!
**Baked Salmon Sushi Cups** are a fun, flavorful, and visually stunning dish that brings a new twist to your sushi experience. Whether you’re hosting a gathering or enjoying a quiet night in, these sushi cups are sure to impress. Give this recipe a try, and enjoy the delightful blend of flavors and textures that make each bite a true culinary adventure! 🍣✨ If you enjoyed this recipe, you might also like our Copycat Subway Italian Herb Cheese Bread or Savory Lemon Herb Roasted Chicken Thighs for Any Occasion. “` Print
Baked Salmon Sushi Cups
- Total Time: 40 minutes
- Yield: 4 servings
- Diet: Gluten-Free optional
Description
Baked Salmon Sushi Cups are a delightful fusion of flavors and textures, offering a unique take on traditional sushi. Packed with rich salmon, crispy sushi rice, and fresh vegetables, these bite-sized cups are perfect for any gathering or family dinner.
Ingredients
- 2 salmon fillets, skinless and boneless
- 1 cup sushi rice
- 1 1/2 cups water
- 2 tablespoons rice vinegar
- 1 tablespoon sugar
- 1/2 teaspoon salt
- 4 sheets nori (seaweed)
- 1 avocado, sliced
- 1 cucumber, julienned
- Soy sauce and wasabi, for serving
Instructions
- Preheat your oven to 375°F (190°C). Season the salmon with salt and pepper and set aside.
- Rinse sushi rice until the water runs clear. Cook rice with water in a saucepan, then fold in rice vinegar, sugar, and salt.
- Line a muffin tin with nori strips, press sushi rice into the cups, and top with flaked salmon, avocado, and cucumber.
- Bake for 15-20 minutes until salmon is cooked through and tops are golden brown. Cool briefly before serving.
Notes
- Store leftovers in an airtight container in the fridge for best taste within 2 days.
- Reheat in a toaster oven to regain crispiness.
- Feel free to substitute salmon with shrimp, crab, or tofu for variations.
- Use gluten-free soy sauce and sushi rice if necessary.
- Prep Time: 20 minutes
- Cook Time: 20 minutes
- Category: Appetizer
- Method: Baking
- Cuisine: Japanese Fusion