Crispy Homemade Baked Chicken Tenders: A Healthy and Delicious Treat 🍗✨
1. Introduction to Perfectly Crispy Homemade Baked Chicken Tenders
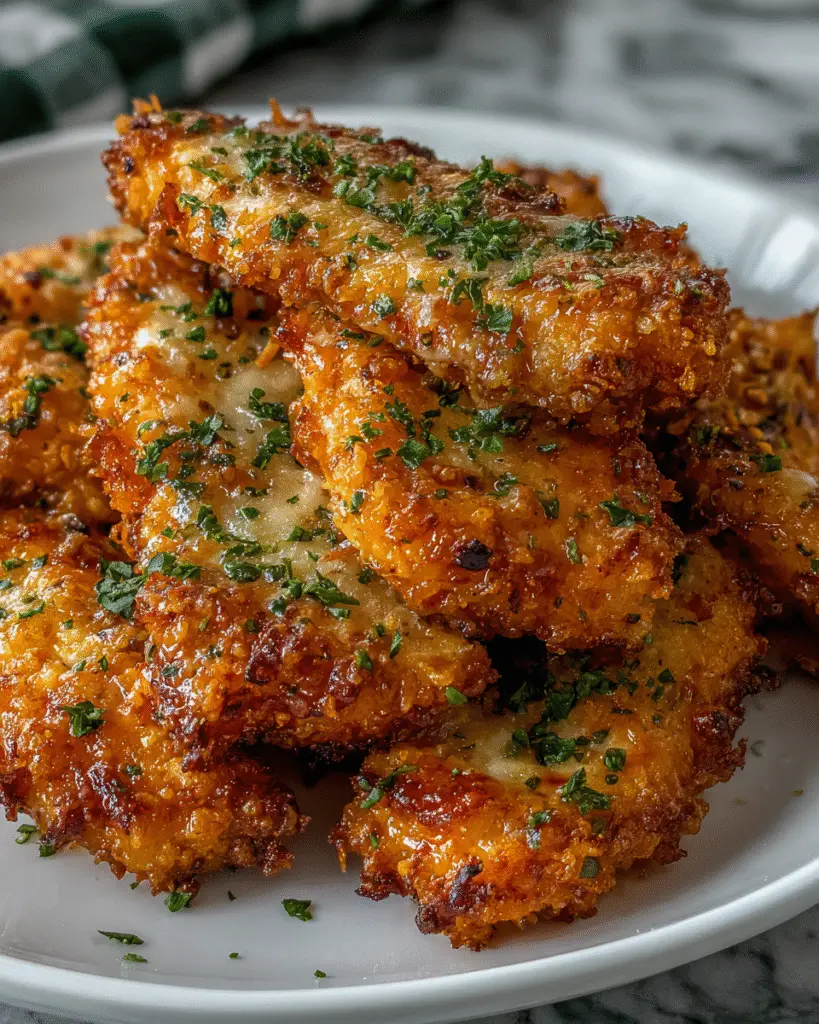
Welcome to the ultimate guide for making truly crispy homemade baked chicken tenders! If you’re looking for a healthier alternative to traditional fried chicken tenders without sacrificing that satisfying crunch, you’ve come to the right place. These delicious chicken tenders are not only easy to prepare but also offer a nutritious and tasty meal option for the whole family. Forget about greasy takeout; these oven-baked chicken strips, coated in seasoned breadcrumbs and baked to golden perfection, provide a guilt-free, crispy experience that everyone will love. Whether you’re serving them for a quick family dinner, a fun gathering, or even meal prepping, these chicken tenders are guaranteed to be a hit. Looking for another quick dinner? Why not try this chicken teriyaki noodles. Let’s dive into this simple, step-by-step recipe and unlock the secret to perfectly baked chicken!
2. Ingredients for the Best Homemade Baked Chicken Tenders
To create the most flavorful and crispy homemade baked chicken tenders, you will need the following ingredients. Make sure you have everything ready before you start, as this will streamline the cooking process.
- 1 pound of boneless, skinless chicken breast, cut into strips – Ensure the chicken is fresh for the best flavor.
- 1 cup of breadcrumbs (preferably whole grain or panko for extra crispiness) – Whole grain adds a healthy touch, while panko provides a superior crunch.
- 1 teaspoon paprika – Adds color and a subtle smoky flavor.
- 1 teaspoon garlic powder – Enhances the savory taste of the chicken.
- 1 teaspoon onion powder – Complements the garlic powder and adds depth.
- 1 teaspoon salt – Balances the flavors and enhances the overall taste.
- 1/2 teaspoon black pepper – Adds a mild spice and complexity.
- 2 large eggs, beaten – Helps the breadcrumbs adhere to the chicken.
- 1 tablespoon olive oil – Adds moisture and helps the chicken achieve a golden-brown color in the oven.
- Dipping sauces (ranch, honey mustard, BBQ sauce, etc.) for serving – Choose your favorites to complement the chicken tenders.
3. Preparation Steps for Crispy Baked Chicken
Step 1: Preparation of Ingredients and Setting Up
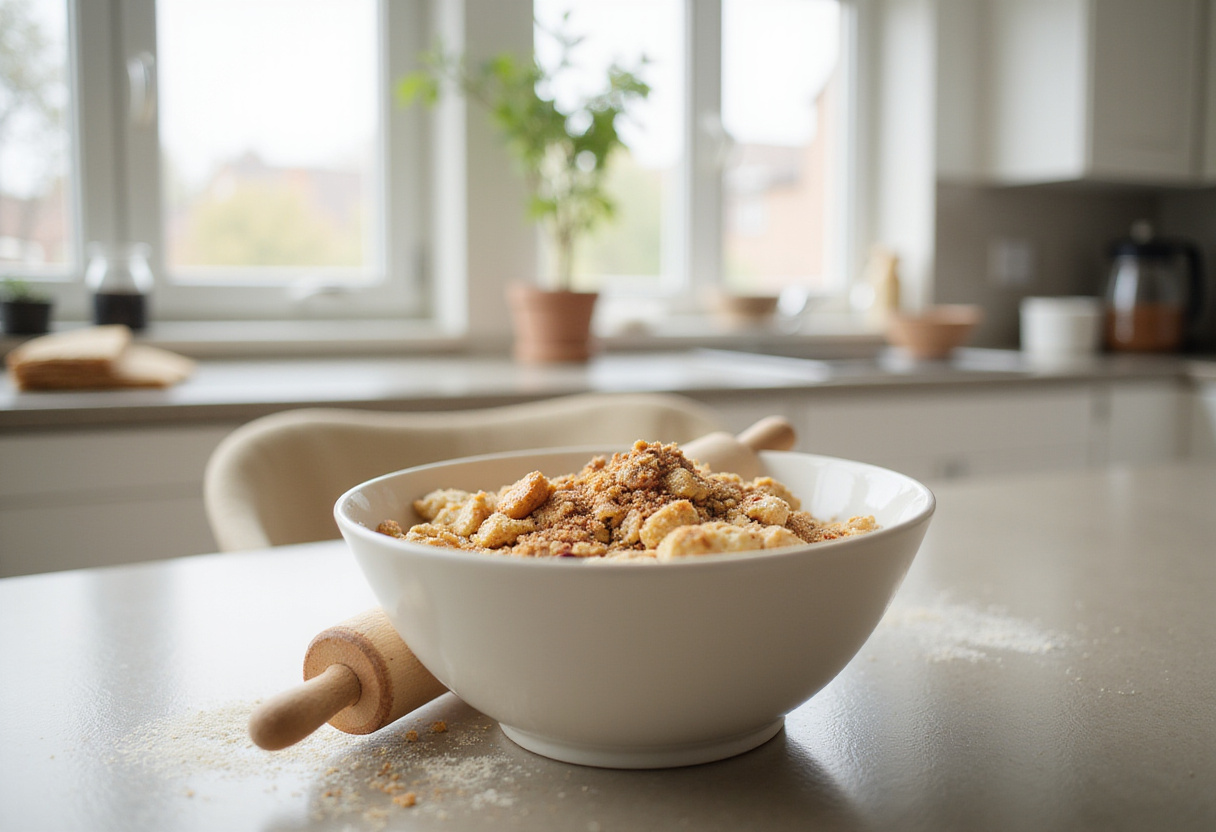
Begin by preheating your oven to 400°F (200°C). Ensuring the oven is properly preheated is crucial for achieving that perfect crispiness. While your oven is heating, prepare the chicken for your crispy chicken tenders. Cut the boneless chicken breasts into uniform strips, about 1-inch thick. This ensures even cooking. In a medium-sized bowl, combine breadcrumbs, paprika, garlic powder, onion powder, salt, and black pepper. Mix well to ensure the spices are evenly distributed. This seasoned coating is the key to giving your homemade baked chicken tenders their irresistible crunch and flavor! For another exciting twist, check out these lemon herb roasted chicken thighs!
Step 2: Expertly Coating the Chicken for Maximum Crisp

This step is vital for achieving that signature crispy texture. First, dip each chicken strip thoroughly into the beaten eggs, making sure they are fully coated. The egg wash acts as a binder, helping the breadcrumb mixture adhere properly. After the egg wash, roll each strip in the seasoned breadcrumb mixture until they are completely covered. Press gently to ensure the breadcrumbs stick to the chicken. Place the coated chicken tenders on a baking tray lined with parchment paper. The parchment paper prevents sticking and makes cleanup a breeze. Drizzle olive oil evenly over the top of the breaded chicken tenders. The olive oil adds extra crispiness and helps the tenders achieve a beautiful golden-brown color in the oven. If you love easy recipes, you might find this korean ground beef bowl interesting!
Step 3: Baking the Chicken Tenders to Golden Perfection
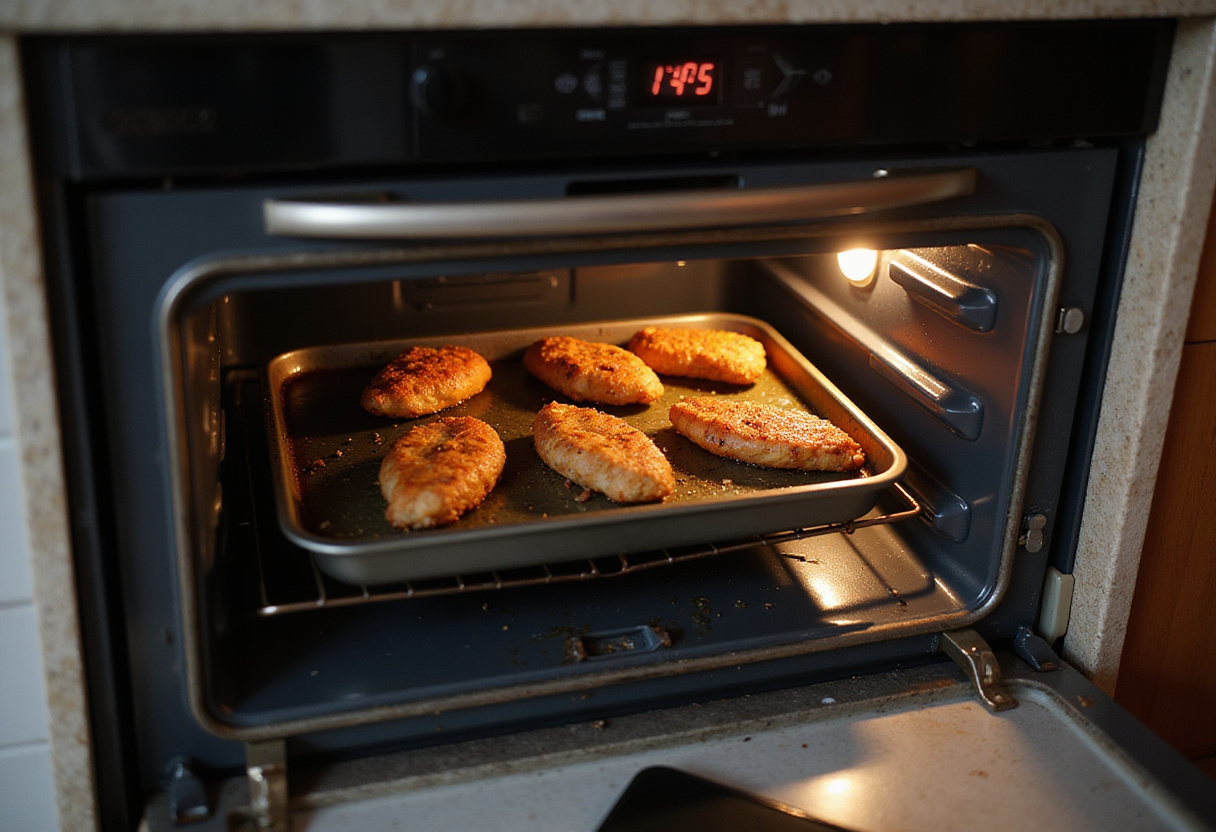
Carefully place the baking tray in the preheated oven and bake for about 20-25 minutes, or until the chicken tenders are cooked through and golden brown. The internal temperature of the chicken should reach 165°F (74°C). For even better crispiness, flip the chicken tenders halfway through the baking time. This ensures both sides are evenly cooked and beautifully crispy. Keep a close eye on them to prevent burning and achieve that ideal golden-brown color. Looking for something to pair with these tenders? This mac and cheese recipe is a great choice!
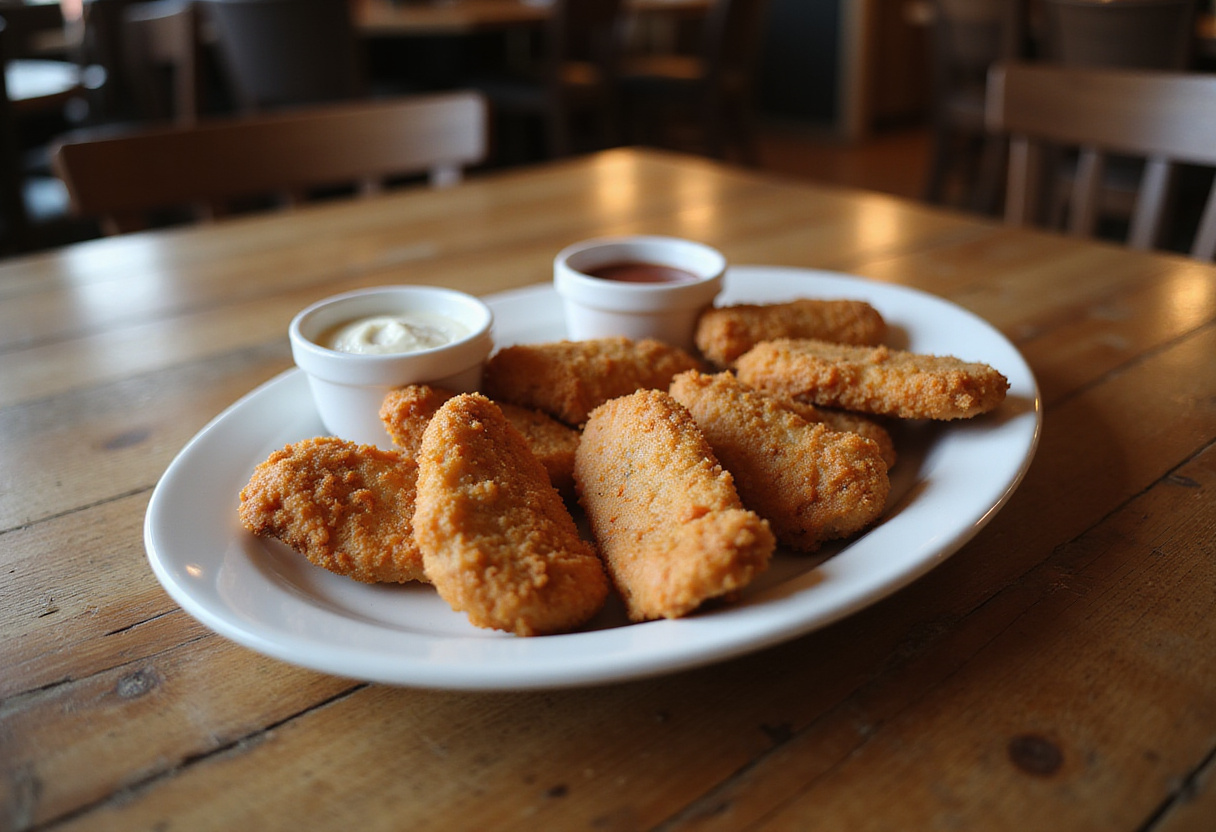
Step 4: Serving the Crispy Chicken Tenders
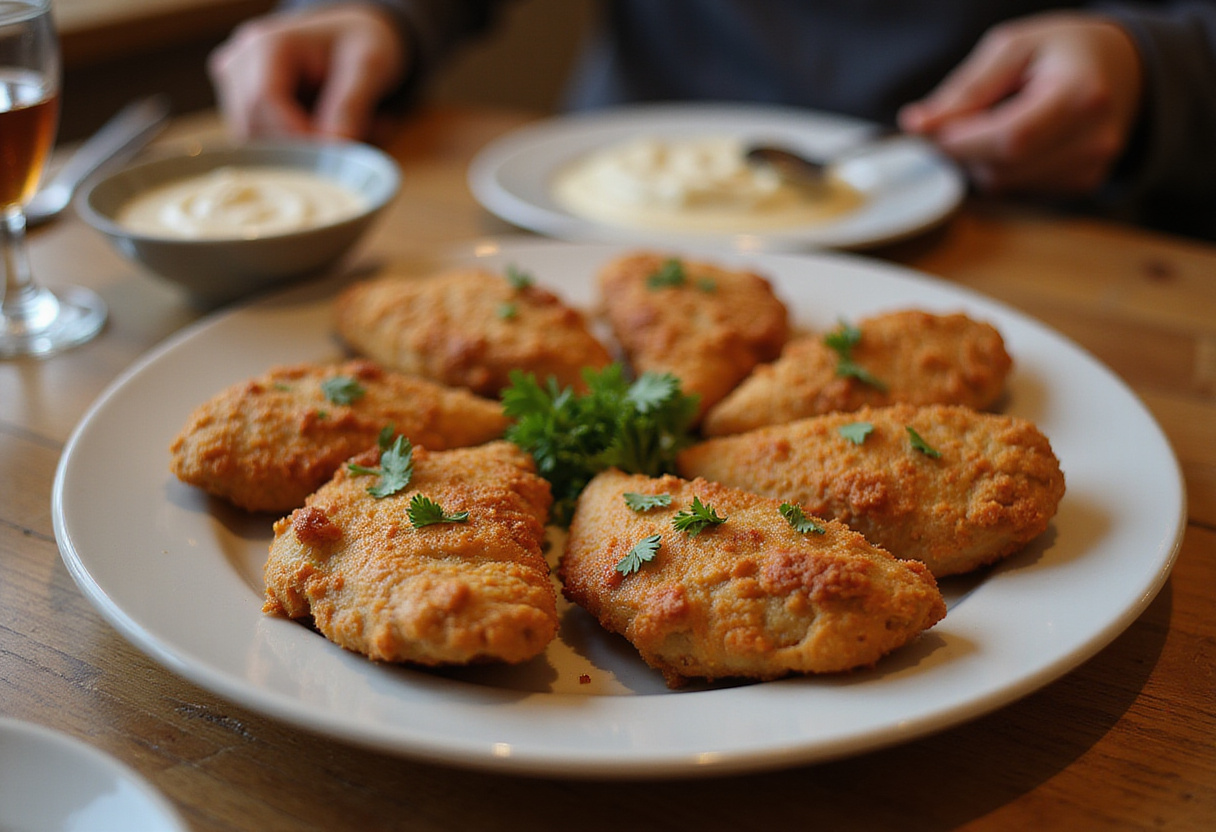
Once the chicken tenders are cooked and golden brown, remove them from the oven and let them rest for a few minutes before serving. This allows the juices to redistribute, resulting in a more tender and flavorful bite. These crispy homemade baked chicken tenders are incredibly versatile and pair perfectly with a variety of dipping sauces such as classic ranch, honey mustard, tangy BBQ sauce, or even a spicy aioli. Arrange the chicken tenders on a platter and serve immediately. They’re perfect for family dinners, appetizers at parties, or even as a quick and satisfying snack! You can discover more chicken recipes here.
4. Storage Tips for Maintaining Crispiness
Proper storage is essential to maintain the quality and crispiness of your homemade baked chicken tenders. If you happen to have any leftover chicken tenders (though it’s unlikely!), store them in an airtight container in the refrigerator. When stored properly, they can last for up to 3 days. For the best results, reheat the chicken tenders in the oven at 350°F (175°C) for about 10 minutes. This helps to regain their crispiness and avoids the sogginess that can occur when microwaving. Alternatively, you can use an air fryer to reheat them for a quick and crispy result. Be sure to check out these dinner ideas for inspiration!
5. Serving Suggestions to Elevate Your Meal
These crispy homemade baked chicken tenders are incredibly versatile and pair beautifully with a wide array of side dishes. Consider serving them with a fresh garden salad, roasted vegetables such as broccoli or carrots, or classic sides like French fries or sweet potato fries. They are fantastic for lunch, dinner, or even as a delicious snack. For a complete meal, try serving them with a side of Philly Cheesesteak Tortellini Pasta. Get creative and customize your meal to suit your taste preferences!
For more inspirations on what to make, check what others did here.
6. FAQs – Your Questions Answered
Q: Can I make these chicken tenders gluten-free?
A: Absolutely! You can easily adapt this recipe to be gluten-free. Simply replace regular breadcrumbs with gluten-free breadcrumbs. There are many high-quality gluten-free breadcrumb options available at most grocery stores. Ensure all other ingredients are also gluten-free to cater to dietary restrictions effectively.
Q: Can I freeze the chicken tenders for future use?
A: Yes, freezing is a great way to prepare these chicken tenders in advance. You can freeze the uncooked coated chicken tenders. Place them in a single layer on a baking tray lined with parchment paper, and freeze until solid. Once frozen, transfer them to a freezer bag or airtight container. They can be stored in the freezer for up to 2-3 months. When ready to cook, bake directly from the freezer, but increase the cooking time by about 10-15 minutes to ensure they are thoroughly cooked.
Q: Can I use other seasonings for the breadcrumb mixture?
A: Yes, feel free to experiment with different seasonings to customize the flavor of your chicken tenders. Consider adding Italian seasoning, chili powder, or smoked paprika for a unique twist. You can also adjust the amount of salt and pepper to suit your taste preferences. The key is to have fun and find the flavor combination that you enjoy the most.
7. Conclusion: Enjoy Your Crispy Homemade Baked Chicken Tenders
Making crispy homemade baked chicken tenders is a fantastic way to enjoy a healthier and equally delicious version of a beloved comfort food. With their incredible crunch, delightful flavor, and ease of preparation, they can easily become a staple in your household. Whether you’re looking for a quick weeknight dinner, a crowd-pleasing appetizer, or a tasty snack, these baked chicken tenders are sure to satisfy. Follow these simple steps, and you’ll have a delicious and nutritious meal ready to impress your family or guests. Enjoy your culinary adventure and happy cooking! Want other similar recipes? Check this smothered chicken and rice!
Print
Crispy Homemade Baked Chicken Tenders
- Total Time: 40 minutes
- Yield: 4 servings
- Diet: Healthy
Description
Crispy Homemade Baked Chicken Tenders are a healthy and delicious alternative to fried chicken, featuring seasoned breadcrumbs and baked to golden perfection. Perfect for family dinners or gatherings!
Ingredients
- 1 pound of boneless chicken breast, cut into strips
- 1 cup of breadcrumbs (preferably whole grain)
- 1 teaspoon paprika
- 1 teaspoon garlic powder
- 1 teaspoon onion powder
- 1 teaspoon salt
- 1/2 teaspoon black pepper
- 2 eggs, beaten
- 1 tablespoon olive oil
- Dipping sauces (ranch, honey mustard, etc.) for serving
Instructions
- Preheat your oven to 400°F (200°C).
- Prepare the chicken by cutting boneless chicken breasts into strips.
- In a bowl, mix breadcrumbs, paprika, garlic powder, onion powder, salt, and black pepper for the seasoned coating.
- Dip chicken strips into the beaten eggs, ensuring full coverage.
- Roll the chicken strips in the seasoned breadcrumb mixture until fully coated.
- Place the coated chicken tenders on a parchment-lined baking tray and drizzle olive oil on top.
- Bake in the preheated oven for 20-25 minutes until cooked through and golden brown, flipping halfway for extra crispiness.
- Let the chicken tenders rest for a few minutes before serving with your favorite dipping sauces.
Notes
- Leftover chicken tenders can be stored in an airtight container in the fridge for up to 3 days.
- Reheat them in the oven at 350°F (175°C) for about 10 minutes to regain crispiness.
- These tenders can be made gluten-free by substituting regular breadcrumbs with gluten-free ones.
- Uncooked coated chicken tenders can be frozen for future use.
- Prep Time: 15 minutes
- Cook Time: 25 minutes
- Category: Main Course
- Method: Baking
- Cuisine: American