Japanese Katsu Bowls with Tonkatsu Sauce: A Flavorful Japanese Comfort Dish 🍚🍽️✨
1. Introduction to Delicious Japanese Katsu Bowls
Japanese Katsu Bowls with Tonkatsu Sauce is more than just a meal; it’s a culinary journey to the heart of Japan. This delightful fusion features crispy, juicy breaded pork cutlets – also known as Tonkatsu – served over a bed of fluffy rice and generously topped with savory Tonkatsu sauce. This dish is a beloved staple in Japanese cuisine, celebrated for its harmonious blend of rich flavors and satisfying textures. If you’re searching for a dish that balances comfort and delightful taste, look no further. Whether you’re preparing a simple family dinner or craving something exceptionally comforting, homemade Katsu Bowls offer a delightful culinary experience that will leave you utterly satisfied and wanting more. In this recipe, we will meticulously guide you through the steps to create the perfect Japanese Katsu Bowls, complete with a luscious Tonkatsu Sauce, ensuring a harmonious balance of flavors and textures, making every single bite a savory explosion. You might want to explore other delicious recipes on our website.
2. Ingredients for Authentic Katsu Bowls
To create the perfect Japanese Katsu Bowls with Tonkatsu Sauce, you’ll need the following fresh and high-quality ingredients. These components combine to deliver that authentic Katsu experience.
- 4 boneless pork chops
- Salt and pepper, to taste
- 1 cup all-purpose flour: Essential for creating a light coating on the pork.
- 2 large eggs, beaten: These help the panko breadcrumbs adhere properly.
- 2 cups Japanese panko breadcrumbs: Panko provides the signature crispy texture that defines Japanese Katsu.
- Vegetable oil, for frying: Choose an oil with a high smoke point for optimal frying.
- 4 cups cooked Japanese rice: Short-grain Japanese rice works best, providing a slightly sticky base that complements the other flavors.
- 2 cups assorted vegetables (cabbage, carrots, green onions): These add freshness and a light crunch to balance the richness of the pork.
- 1/2 cup Tonkatsu sauce: This sweet and tangy sauce is the crowning glory; you can find it at most Asian grocery stores or online, or make your own!
- Consider adding a dash of sesame seeds for garnish!
3. Step-by-Step Instructions for Making Japanese Katsu
Step 1: Prepare the Pork Cutlets for Katsu
Begin by thoroughly seasoning the pork chops with salt and pepper to enhance their natural flavor. Then, place each pork chop between two sheets of plastic wrap. Using a meat mallet, lightly pound them until they reach an even thickness of about 1/2 inch. This crucial step serves two purposes: it tenderizes the meat and ensures uniform cooking, resulting in perfectly cooked pork Katsu. If you like easy dinner recipes, check this Dinner recipes
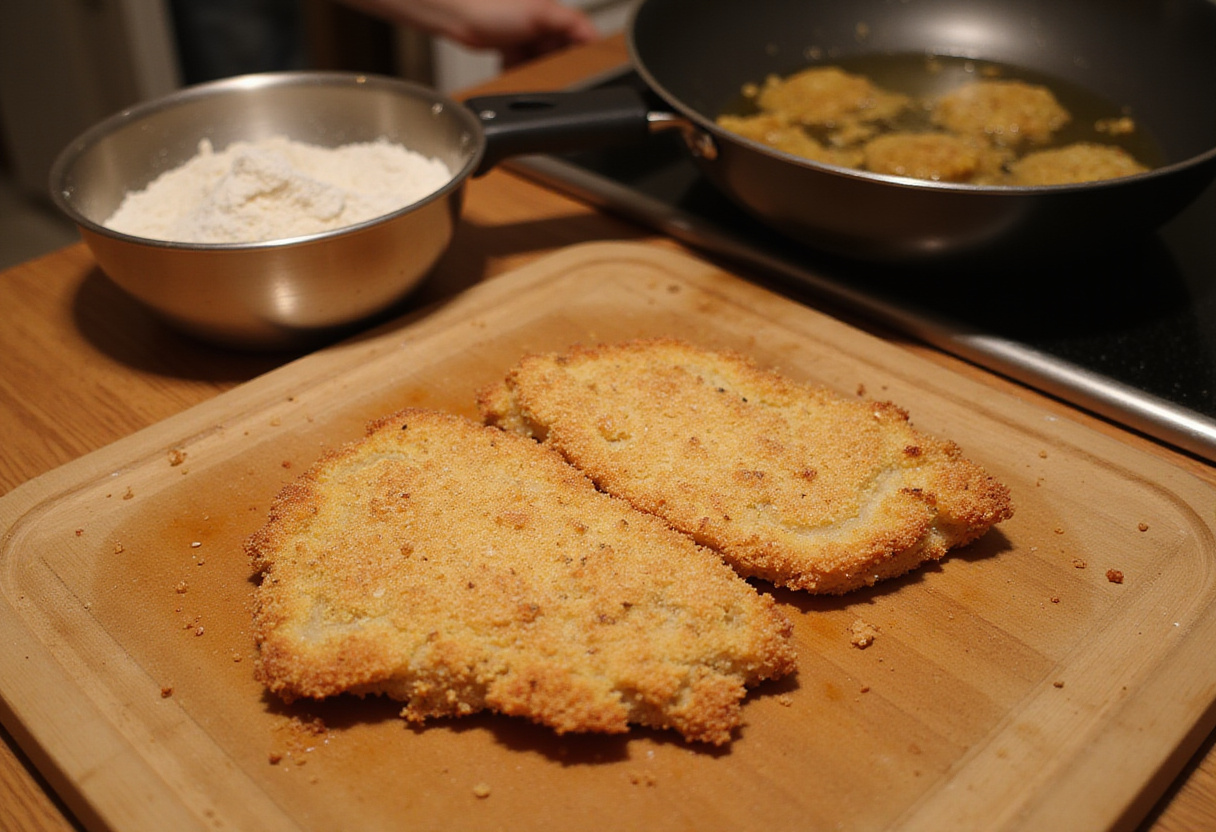
Step 2: Bread the Cutlets for Ultimate Crispiness
Now, set up an efficient breading station with three distinct bowls. In the first, place the all-purpose flour, ensuring it is evenly spread. The second bowl should contain the beaten eggs, lightly whisked to ensure a smooth consistency. Finally, fill the third bowl generously with the Japanese panko breadcrumbs – these are key to achieving that signature crispiness synonymous with Katsu. Systematically dredge each pork chop first in the flour, ensuring a light coating. Then, dip it into the beaten eggs, allowing any excess to drip off. Finally, generously coat the chop with panko breadcrumbs, pressing gently to ensure they adhere evenly and completely, creating a uniform breading. For more delicious recipes, you might be interested in reading about Homemade Flaky Croissants.
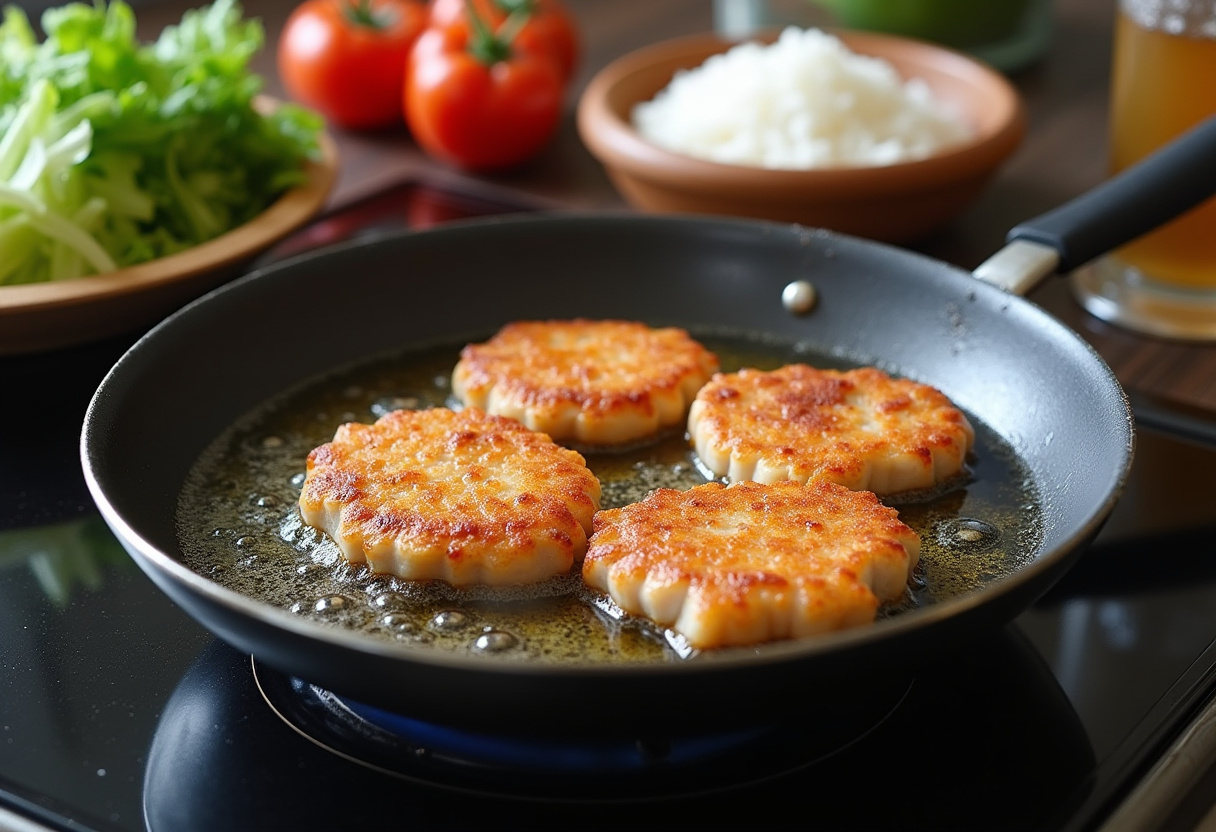
Step 3: Fry the Cutlets to Golden Perfection
In a large, heavy-bottomed frying pan, heat vegetable oil over medium heat. Ensure there is enough oil to fully submerge the cutlets, allowing for even cooking. Carefully place the breaded cutlets into the hot oil, being mindful not to overcrowd the pan – this can lower the oil temperature and result in less crispy Katsu. Fry the cutlets for approximately 3-4 minutes on each side. Monitor them closely, turning as needed, until they achieve a beautiful, golden-brown color and are thoroughly cooked through. The internal temperature should reach 145°F (63°C). Once done, remove the cutlets from the pan and place them on a wire rack or paper towels to drain any excess oil, ensuring they remain delightfully crispy.
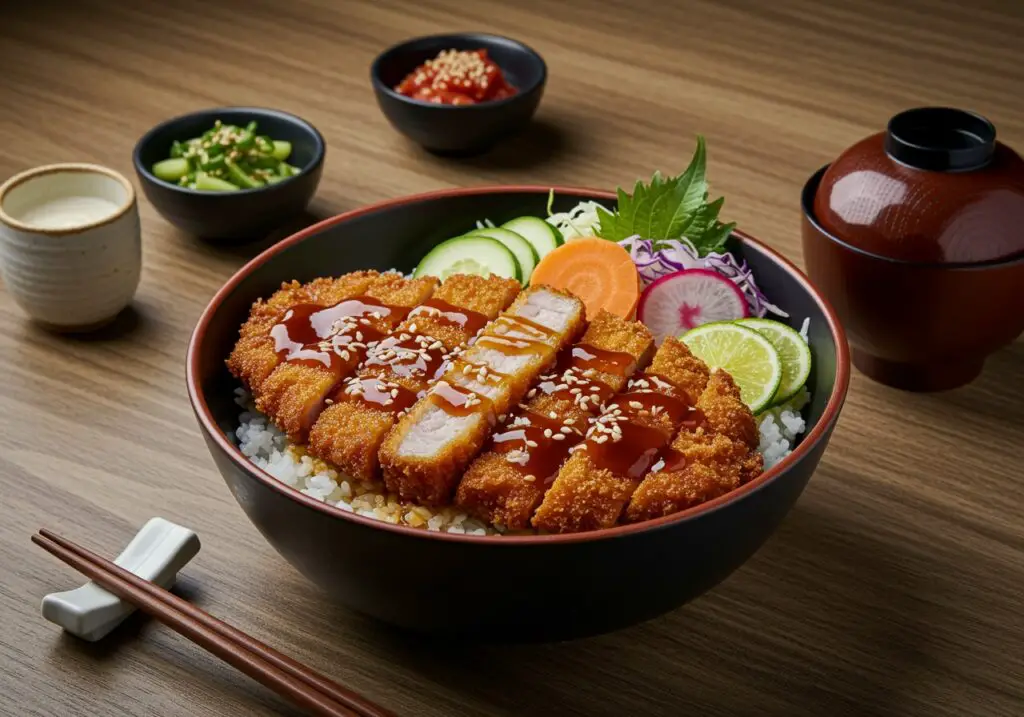
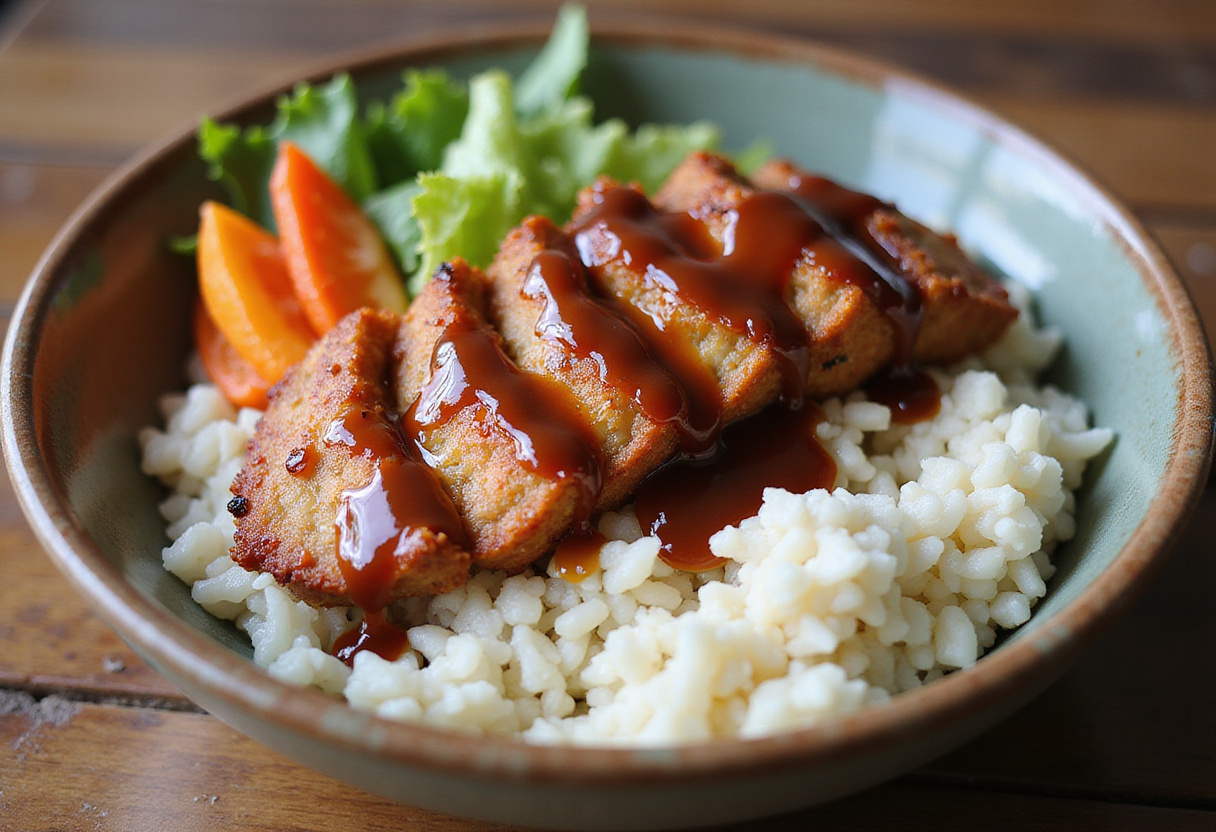
Step 4: Assemble Your Katsu Bowls
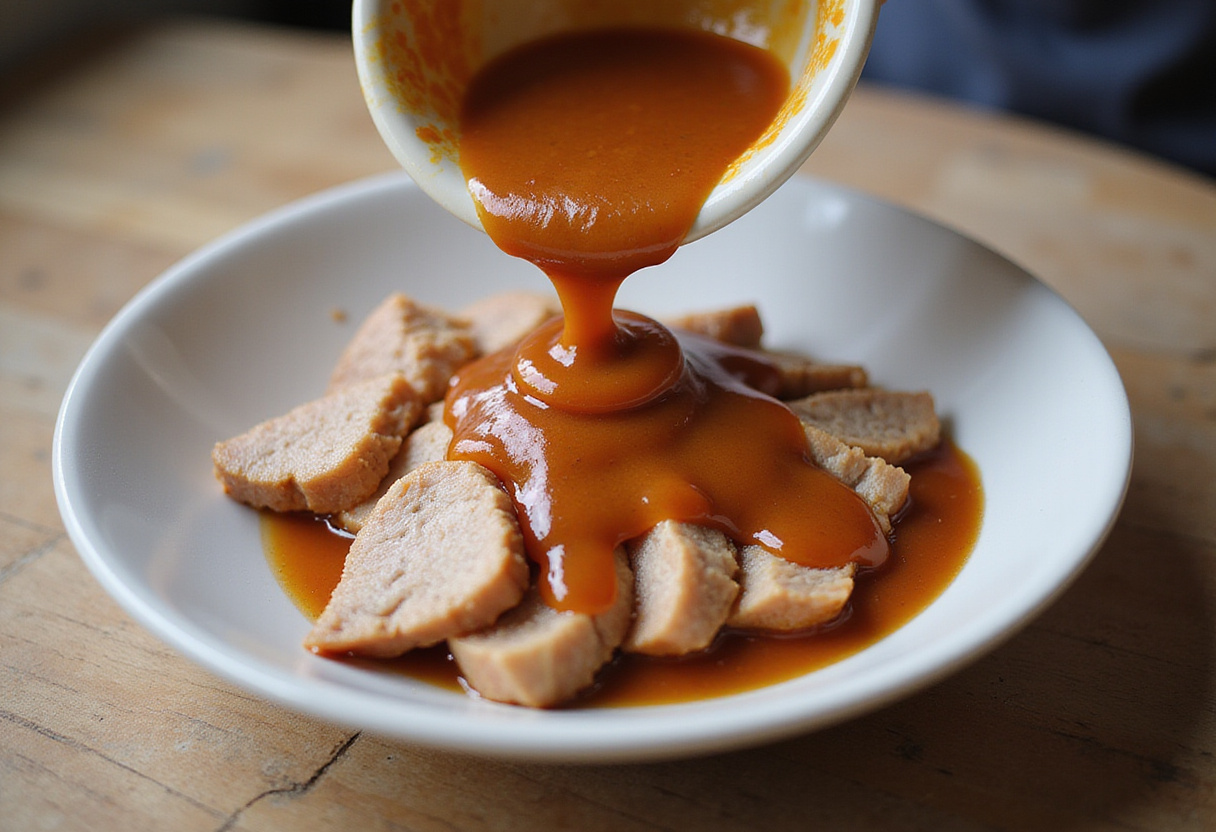
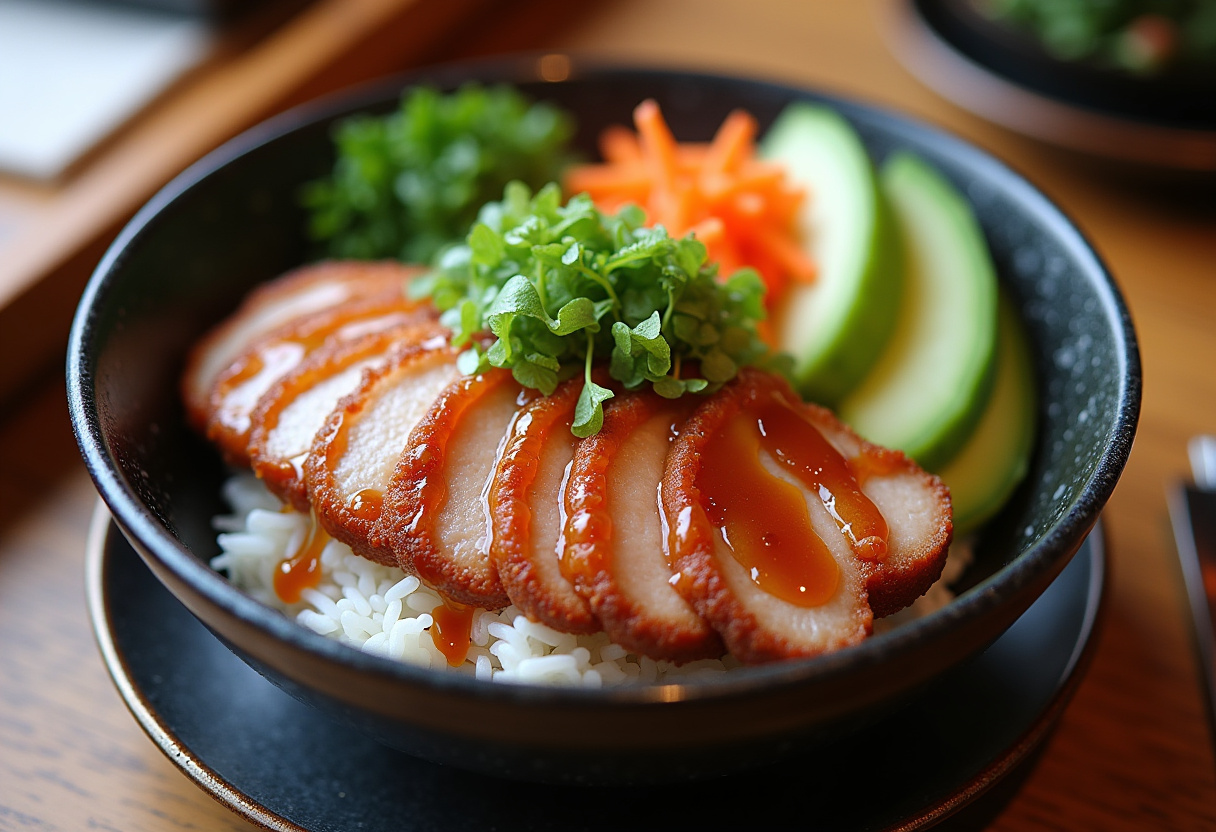
The moment you’ve been waiting for has arrived! It’s time to assemble these delectable bowls. Begin by placing a generous serving of fluffy, steaming rice at the bottom of each bowl, forming the foundation of your culinary masterpiece. Take the fried pork cutlets and carefully slice them into manageable, bite-sized pieces. Arrange these succulent slices artfully on top of the rice. Now, add an array of fresh, crisp vegetables, such as finely shredded cabbage and vibrant carrots, providing a refreshing counterpoint to the richness of the Katsu. Finally, generously drizzle the Tonkatsu sauce over the cutlets and vegetables, allowing its sweet and tangy notes to meld all the elements together. The link Crispy Chicken Katsu Bowls will offer you even more inspiration to create this dish. Enjoy the symphony of flavors and textures as you experience the true essence of Japanese Katsu Bowls!
4. Storage Tips to Keep Your Katsu Fresh
If you find yourself with leftovers (though it’s unlikely!), proper storage is key to maintaining the quality of your Tonkatsu. Store the cutlets in an airtight container in the refrigerator for up to 3 days. To revive their crispiness, reheat them in the oven at 350°F (175°C) for about 10-15 minutes. Store the rice and vegetables separately in the fridge, ensuring they retain their individual textures and flavors. Combine them only when you’re ready to enjoy your next serving of Katsu Bowls. For more easy and delicious meals, consider exploring Easy Lipton Onion Soup Potatoes.
5. Serving Suggestions for the Best Katsu Bowl Experience
Elevate your Japanese Katsu Bowls with thoughtful serving suggestions. For a complete and balanced meal, serve your bowls with a side of comforting miso soup, its umami-rich broth complementing the richness of the Katsu. Alternatively, a light and refreshing salad can provide a crisp counterpoint. For an extra touch of flavor and visual appeal, sprinkle sesame seeds or thinly sliced green onions over the top of your bowls. These simple additions add a layer of complexity and enhance the overall dining experience. You can always visit our home page to choose other recipes!
6. FAQs About Making Katsu Bowls
Q: Can I use chicken instead of pork for Katsu Bowls?
A: Absolutely! Chicken cutlets are a fantastic and popular alternative. Prepare them in the same manner as the pork, ensuring they are cooked to an internal temperature of 165°F (74°C) for safety.
Q: What exactly *is* Tonkatsu sauce?
A: Tonkatsu sauce is a thick, sweet, and savory sauce that elevates the flavor profile of the dish. It’s typically made from a blend of fruits, vegetables, vinegar, and spices, resulting in a complex and irresistible condiment perfect for drizzling over fried dishes.
Q: How do I make Tonkatsu sauce from scratch if I can’t find it in stores?
A: Creating a simple homemade version is easy! Combine ketchup, Worcestershire sauce, soy sauce, a touch of sugar or honey for sweetness, grated apple, and a dash of Dijon mustard. Adjust the ingredients to your taste preferences until you achieve the desired balance of sweet, tangy, and savory notes. Simmer ingredients for 10 minutes so the flavors combine.
Q: What kind of rice goes best in making *Katsu Bowls*?
A: Medium grain rice will provide the best stickiness to hold the bowl together.
7. Nutritional Information for Japanese Katsu Bowls
This recipe offers a delightful balance of protein and carbohydrates, providing sustained energy and essential nutrients to keep you feeling satisfied and nourished. Each serving contains a substantial amount of protein from the pork cutlet, essential for muscle building and repair. The rice provides a good source of carbohydrates for energy, while the vegetables contribute vital vitamins and minerals. Expect approximately 600-700 calories per serving, depending on portion sizes and the specific ingredients you use. Remember to adjust your portion sizes to meet your individual dietary needs and goals.
8. Tips for Perfect Katsu Bowls Every Time
- Always opt for Japanese panko breadcrumbs; their larger, airier texture guarantees maximum crispiness.
- Avoid overcrowding the pan during frying to maintain the oil temperature, ensuring even cooking and optimal crispness.
- After frying (and before slicing), allow the cutlets to rest for a few minutes. This allows the juices to redistribute, resulting in a more tender and flavorful pork Katsu.
- Serve immediately for best crunch!
9. Conclusion: Enjoy Your Homemade Japanese Katsu Bowls
Japanese Katsu Bowls with Tonkatsu Sauce represent a truly delicious and satisfying meal, harmoniously blending tender pork cutlets, fluffy rice, and crisp, fresh vegetables for an unforgettable culinary experience. By meticulously following this recipe, you can effortlessly recreate a restaurant-quality dish right in the comfort of your own kitchen. Whether you’re a seasoned chef or a complete beginner, this dish promises to transport the authentic taste of Japan directly to your dinner table. So, embark on this exciting cooking adventure and savor the delightful flavors of your homemade Japanese Katsu Bowls!
Print
Japanese Katsu Bowls with Tonkatsu Sauce
- Total Time: 35 minutes
- Yield: 4 servings
- Diet: Meat-based
Description
Japanese Katsu Bowls with Tonkatsu Sauce is a delightful fusion of crispy, juicy breaded pork cutlets served over fluffy rice and topped with a savory Tonkatsu sauce. This dish is a staple in Japanese cuisine, loved for its rich flavors and satisfying textures.
Ingredients
- 4 boneless pork chops
- Salt and pepper, to taste
- 1 cup all-purpose flour
- 2 large eggs, beaten
- 2 cups Japanese panko breadcrumbs
- Vegetable oil, for frying
- 4 cups cooked Japanese rice
- 2 cups assorted vegetables (cabbage, carrots, green onions)
- 1/2 cup Tonkatsu sauce
Instructions
- Season the pork chops with salt and pepper and pound them to 1/2 inch thickness.
- Set up a breading station with flour, beaten eggs, and panko breadcrumbs. Dredge each pork chop in flour, dip in eggs, then coat with panko.
- Heat oil in a frying pan and fry the breaded cutlets for 3-4 minutes on each side until golden brown.
- Assemble the bowls with rice, sliced pork cutlets, fresh vegetables, and drizzle with Tonkatsu sauce.
Notes
- Store leftovers in an airtight container for up to 3 days; reheat in the oven for crispiness.
- For alternatives, chicken cutlets can be used instead of pork.
- Serve with miso soup or a salad for a complete meal.
- Prep Time: 15 minutes
- Cook Time: 20 minutes
- Category: Main Course
- Method: Frying
- Cuisine: Japanese